 SharePoint’s datasheet is a powerful tool and a source of much trouble: This article is a quick summary of the common problems and their solutions, where possible.
Unfortunately there is rather a lot that is not possible; the datasheet is not like any other part of SharePoint, as it’s produced by an entirely different method. As James Love explains:
Customisations to the Data Sheet View are not supported, as this is generated using the Microsoft Office Access Web Datasheet Component, which renders the grid using the same base engine as the data sheet view that Microsoft Access uses.
So for the vast majority of questions, the answer is simply:
No
This is a list of the common scenarios that are not possible via the datasheet view. Click the numbered links for example questions (and further information):
Can I modify the datasheet using JavaScript/jQuery? [1] [2]
No. The datasheet is not rendered as HTML, so it can’t be edited via JavaScript.
Can I apply Conditional Formatting to the datasheet? [1] [2] [3]
No. The datasheet is not rendered via XSL, so Designer can’t be used to change its rendering.
Can I make my cascading lookup work with the datasheet? [1] [2] [3] [4] [5]
No. Editing Custom Field Types is simply not supported in the datasheet:
In SharePoint Foundation, columns based on custom field types are read-only in Datasheet view.
Can I wrap the datasheet column headings onto a second row? [1] [2]
No. To quote Mr. Hammer: "Can’t touch this."
Can I use the datasheet view with BCS (e.g. External Lists)? [1] [2] [3] [4] [5]
No. The datasheet view is only configured for displaying SharePoint data and sees through the the SharePoint-like veneer provided by BCS.
Can I use the datasheet in Chrome/FireFox/Safari/64-bit IE? [1] [2] [3]
No. The datasheet requires the use of ActiveX controls: These are only only available on 32-bit versions of Internet Explorer.
Yes
Surprisingly, there are many problems with the datasheet that can be solved:
Can I add the datasheet to a different page? [1] [2]
Yes. Simply add a List View Web Part to the page, and edit it to display a view on the list that’s set to show the datasheet by default.
Can set the datasheet to only allow editing (not adding/deleting items)? [1] [2]
Yes. Edit the users’ list permissions so that they only have access to Edit and View Items.
Can I fix the error "The selected cells are read only"? [1] [2]
Mostly. Here are three possible causes of this:
- Multiline rich-text fields: Switch them to plain text to edit
- Approval is enabled: Disable it
- Metadata fields: Not supported
So this isn’t a very good "Yes", but at least there are workarounds for most of the problems.
Why can’t I open the datasheet view? [1] [2] [3]
This appears to usually be caused by having 64-bit Office installed on the client machine. It can apparently fixed by installing the 2007 Office System Driver: Data Connectivity Components according to KB 2266203.
Interestingly, if you happen to not have Office at all (because you’re on a server, or writing an article on your home laptop) you may need to install the Microsoft Access 2010 Runtime instead.
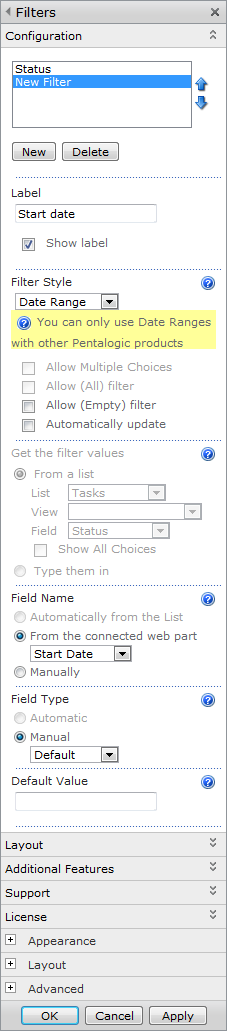
Can I completely rewrite the datasheet view? [1]
Apparently yes (see linked question), although I’m not sure you’d want to.


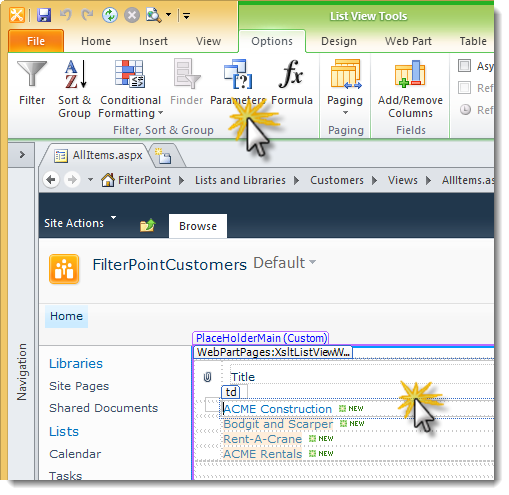
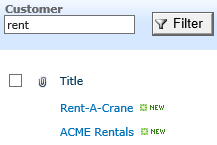
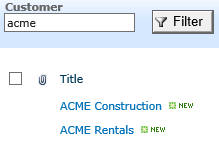
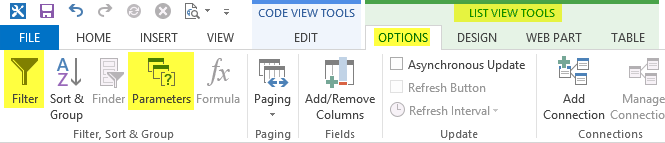
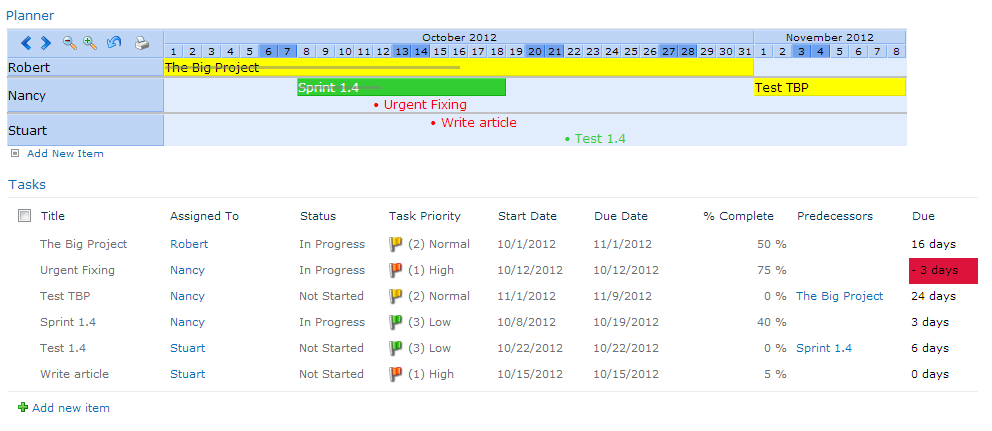
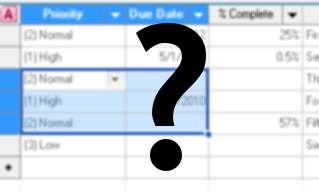
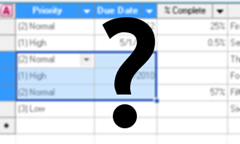
 You will now have access to the List View Tools > Options ribbon and the Filter and Parameters button (see picture at the top of this page)


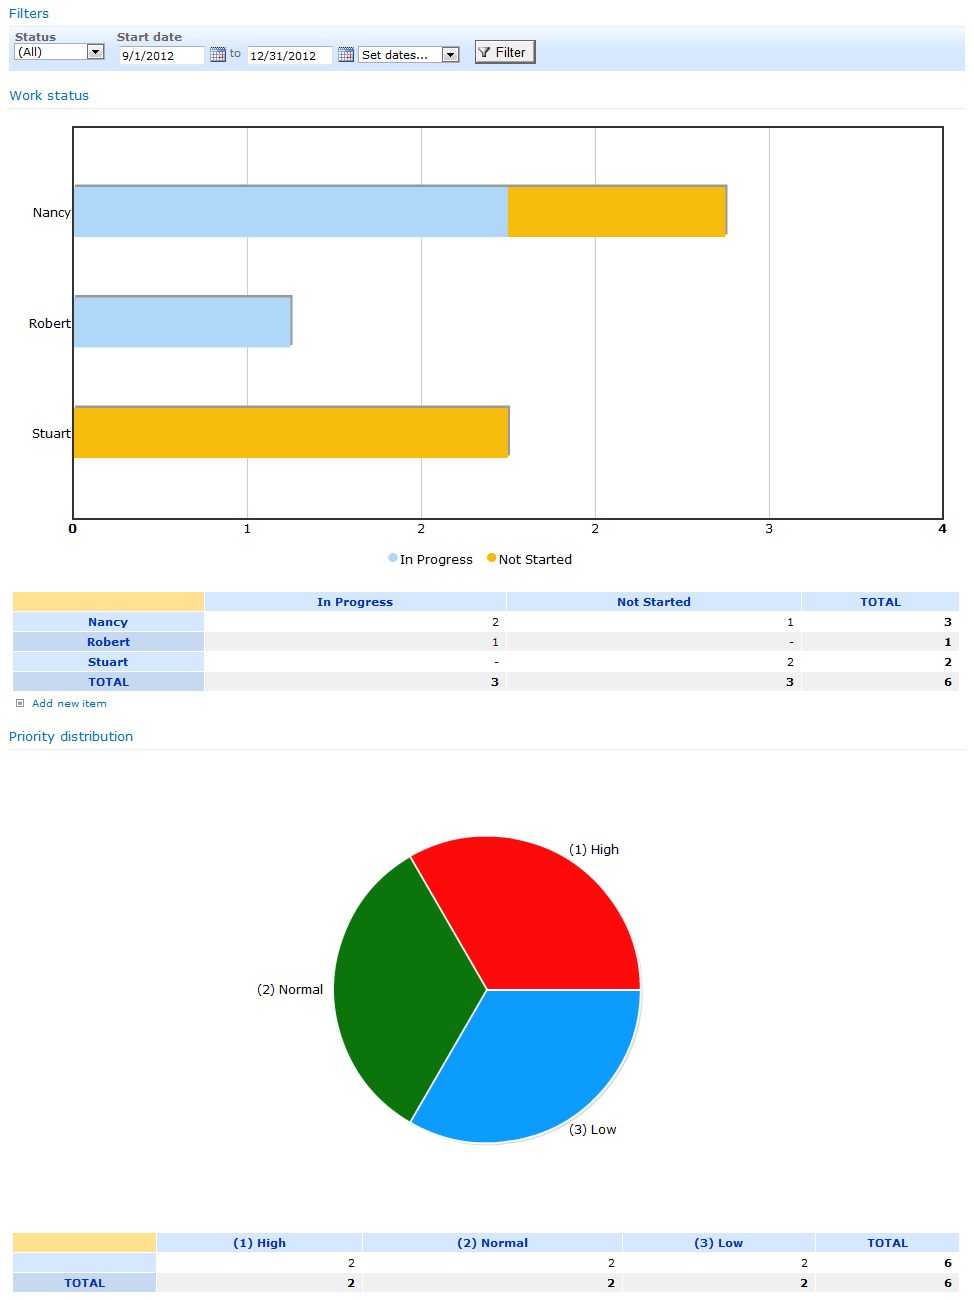
 Name the column Due